Choosing the Right Materials
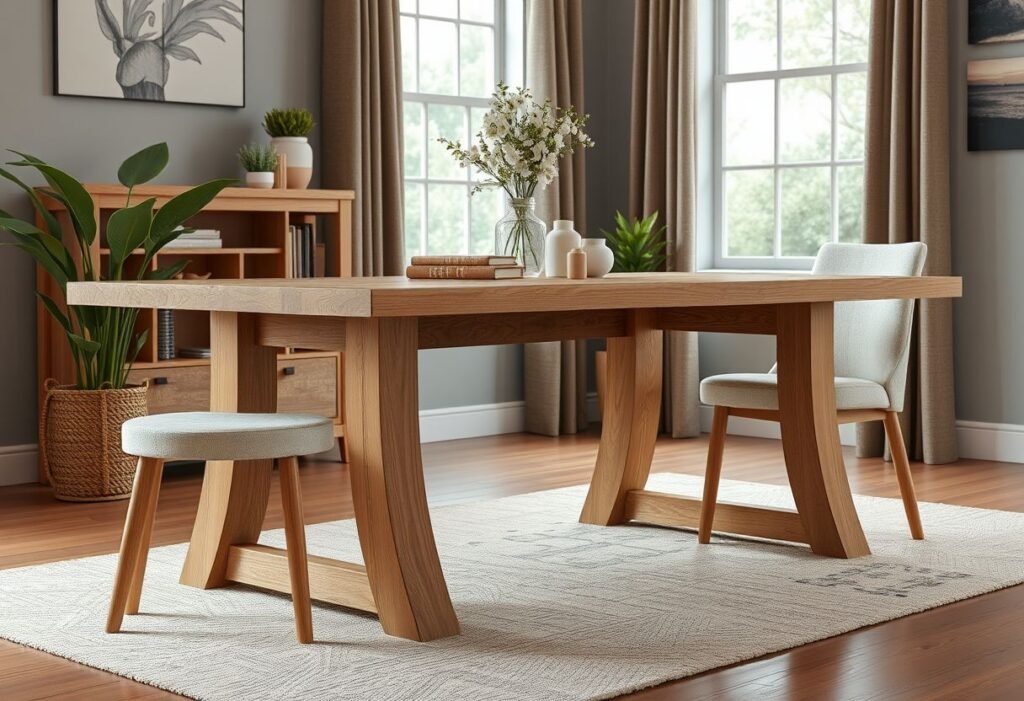
The first step in building your dining table is choosing the right materials. Whether you prefer wood, metal, or composites, each option has its charm. Wood is a classic choice that brings warmth and coziness to any dining room. Oak is sturdy and durable, but it can be a bit pricey. If you’re looking to save, pine or poplar can also create a stunning look. Remember to invest in quality materials – after all, your dining table will be the heart of your home for years to come.
Creating Your Design
Before you dive into construction, the next critical step is creating your design. Take the time to sketch your table, determining its shape—do you want it rectangular, round, or square? Consider how many people you want to seat comfortably. Having a detailed plan will not only clarify what materials you’ll need but also guide you in constructing a table that fits your space and lifestyle perfectly.
Gathering Your Tools
With your design in hand, it’s time to gather your tools. Depending on your specific project needs, you will typically require a saw, a drill, sandpaper, as well as a measuring tape and level. Safety first! Ensure you have protective gloves and goggles at the ready. No matter whether you’re a seasoned crafter or a beginner, the right tools can make all the difference in your experience.
Construction Steps
Now comes the exciting part: putting your project into action! Begin by cutting your wood according to the dimensions you’ve prepared. Check that all edges are clean and fit well together. With the pieces cut, you can start assembling the legs and stabilizing the frame. Keep checking for levelness to ensure your table is sturdy and solid. Once all components are assembled, move on to sanding, which will enhance the appearance of your table dramatically.
Finishing Touches
After assembly, the next step involves finishing touches. You can either paint your table in a color of your choice or apply oil to highlight the natural wood grain. Make sure to use appropriate products to protect your table from wear and tear. Regardless of your finish, remember that regular maintenance is key to enjoying its beauty for years to come.
Personalizing Your Table
The final step is to personalize your table. Adorn it with your favorite decorations, like centerpieces, table runners, or vases. Create an ambiance that reflects your personality and lifestyle. Think about the moments shared at this table – it will become a witness to some of your best memories! These personal touches turn the table from just furnishing to a significant part of your life journey.
Conclusion
Building your own dining table is a remarkable experience that combines creativity with emotion. By undertaking this project, you can create something one-of-a-kind that will serve as a backdrop for countless family moments. We hope this guide has inspired you to take action! Make the first move and turn your dreams into reality today!
Disclaimer
This article is for informational purposes only. Please ensure you follow safety guidelines and adhere to local building regulations while utilizing these instructions.


